Swinging check valves are an essential part of any water system. They allow you to isolate and control different sections of your water distribution system. If your swing check valve breaks, it’s time to replace it. Replacing a threaded swing check valve is not as difficult as you might think, but there are a few important steps you should take to ensure a smooth installation. In this blog post, we will walk you through the steps required to replace a threaded swing check valve. We will also provide instructions for removing and installing a threaded swing check valve if you are upgrading your existing water system.
What is a threaded swing check valve?
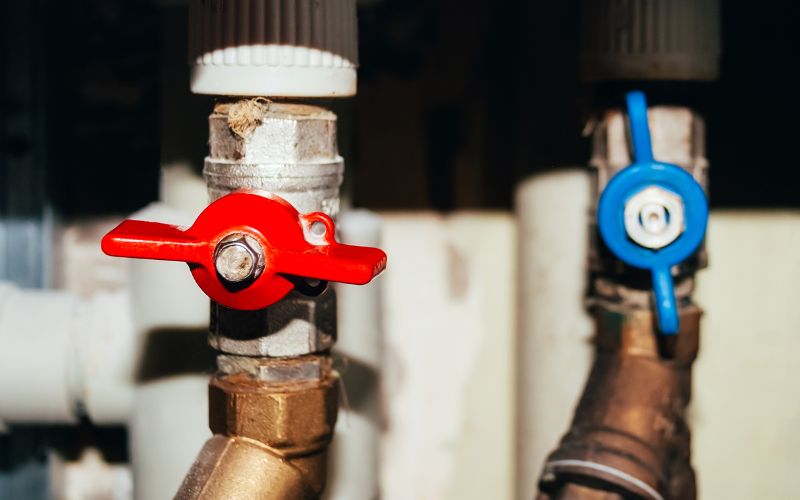
A threaded swing check valve is a small valve that sits on the inside of your faucet. When you turn the handle on your faucet, the check valve opens and lets water flow out. If you don’t close the check valve correctly, water can pour out all over your kitchen counter!
How to remove a threaded swing check valve
If the threaded swing check valve is leaking water, the best way to remove it is by using a wrench. If it’s difficult to get a wrench on the valve, use an impact driver. Once the valve is loose, it can be pulled off and replaced.
To install a new threaded swing check valve, follow these steps:
1 Remove the old valve by using a wrench or an impact driver. If it’s difficult to get a wrench on the valve, use an extra hand to hold onto it while turning the wrench or impact the driver.
2 Align the new valve on the stem and screw it in until it’s tight. Be sure to tighten it evenly around the circumference of the stem.
How to install a threaded swing check valve
If your property has a well, you may need to install a threaded swing check valve. A threaded swing check valve is a type of valve that allows water flow in one direction and restricts water flow in the opposite direction. This is especially useful if there is rushing water or a waterfall on your property. To install a threaded swing check valve, follow these steps:
1. Dig a hole large enough for the check valve body and the pipe connection. The hole should be at least 3 feet deep and 6 to 8 feet wide.
2. Install the pipe connection into the hole. The connection should be high enough so that it doesn’t get wet when the well fills with water.
3. Install the check valve body into the pipe connection and tighten it using an Allen wrench or pliers.
4. Connect the check valve handle to the valve body using an Allen wrench or pliers. Turn the handle until it’s tight, then position it so it won’t hit anything when installed on top of the wellhead assembly (fig 1).
What are the benefits of a threaded swing check valve?
A threaded swing check valve is a type of valve that utilizes threading to provide a tight seal between the valve body and the stem. The benefits of using a threaded swing check valve include:
– Increased flow capacity: A threaded swing check valve can handle higher pressures than non-threaded valves, which can result in increased flow capacity.
– Reduced Maintenance: A threaded swing check valve requires less maintenance than non-threaded valves since there is no need to replace the sealant or sealing cap.
What are the risks of a threaded swing check valve?
A threaded swing check valve is a type of valve that helps to prevent backflow in a water system. When the valve is open, water can flow through the valve freely. However, when the valve is closed, the threads on the inside of the valve prevent any water from flowing back through the valve. This prevents backflow and protects your water system.
The main downside of a threaded swing check valve is that it can become clogged over time. If this happens, you’ll need to remove the clog and replace the valve. Depending on how clogged it is, this may require using a tool like an auger or an extractor. Keep in mind that if you don’t remove the clog soon, it may eventually cause problems with your water system.
Clean the Area Around the Valve
If your water has been leaking from a threaded swing check valve for a while, it’s time to replace it. The process is simple and straightforward:
1. Shut off the water to the house by turning off the main breaker. If you have a manual shutoff valve, turn it off.
2. Remove the old check valve by unscrewing the bolts that hold it in place. Be careful not to damage the threads on the side of the valve body as you remove it.
3. Install a new check valve by screwing it into place with the same bolts that were removed from the old one. Make sure that the threads on both sides of the valve are lined up correctly and that there is enough room between them to allow water flow.
4. Reinstall any hardware that was removed in step 2, including any blowout panels or hoses connecting to the check valve. Turn on the water and test everything out before fixing anything backup!
What to do if the threaded swing check valve fails
If your threaded swing check valve fails, you will need to replace it. A threaded swing check valve is a type of water valve that allows water to flow in one direction only. They are typically used in drain systems and irrigation systems. When the threaded swing check valve fails, water can flow back and forth between the pipe and the tank, which can lead to clogging and damage. To replace a threaded swing check valve, follow these steps:
Shut off the main water supply to the home. If you do not have an emergency shut-off switch, turn off the main water supply by pulling out the main shut-off knob or turning off the valves at the main meter.
2. Remove the cover plate on the front of the valve body with a wrench or pliers.
3. Remove the stem from the body of the valve using a wrench or pliers.
4. Loosen the three bolts that hold the body of the valve together using a wrench or pliers.
5. Carefully pull out the old valve body from the stem and bolts.
6. Install a new valve body by tightening bolts to specifications specified in the manufacturer’s instructions and replacing the cover plate.
7. Turn on the main water supply and test the valve.
How to Remove the Old Threaded Swing Check Valve and Install the New One
When replacing a threaded swing check valve, you must remove the old one and install the new one. Here are instructions on how to do it.
1. Turn off the water supply to the home and locate the main shut-off valve for your home. (If there is no main shut-off valve, turn off all outside faucets.)
2. Open the main shut-off valve just enough to allow water to flow through the hose connected to the valve but not so much that any water flows out of the house.
3. Disconnect the old threaded swing check valve from its fittings by unscrewing it. If needed, use a wrench to turn it counterclockwise to loosen it.
4. Pull out the old check valve by hand or with a wrench if necessary and discard it.
5. Install the new threaded swing check valve in its place by screwing it into place on either side of the hose connection using a wrench or pliers as necessary. Make sure that the threads on both sides of the pipe are lined up correctly and that there is a tight fit between the screw and fitting; if there is not, use a lock washer and nut on each side of the fitting to hold fittings in place while screwing in washer and nut on another side of fitting until tight.
6 Turn on the water supply to the home and open the main shut-off valve just enough for water to flow through the hose connected to the new check valve.
Conclusion
If you’re having difficulty finding a replacement swing check valve, our guide may help. We list the part numbers and descriptions for both original and replacement swing check valves, as well as instructions on how to install them. Hopefully, this will help you get your water flowing smoothly again!